


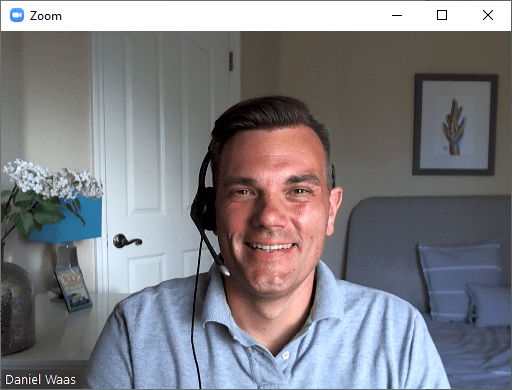
The easiest and most affordable option is a standard USB headset. I prefer wired over Bluetooth for interruption-free audio and I personally like mono (worn on only one ear) better than stereo. With one ear free I have better control over my voice.
- Affordable Equipment for Beginners
- Intermediate Setup
- Professional Webinar Audio


- Affordable Equipment for Beginners
- Intermediate Setup
- Professional Webinar Video
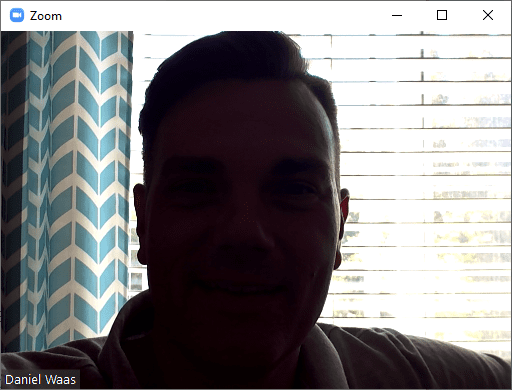


It really doesn't take much. All you need is a soft light placed directly in front of you. You can make do with something as simple as a table lamp or even just try to face a window when you get on camera.
- Affordable Equipment for Beginners
- Intermediate Setup
- Professional Webinar Lighting
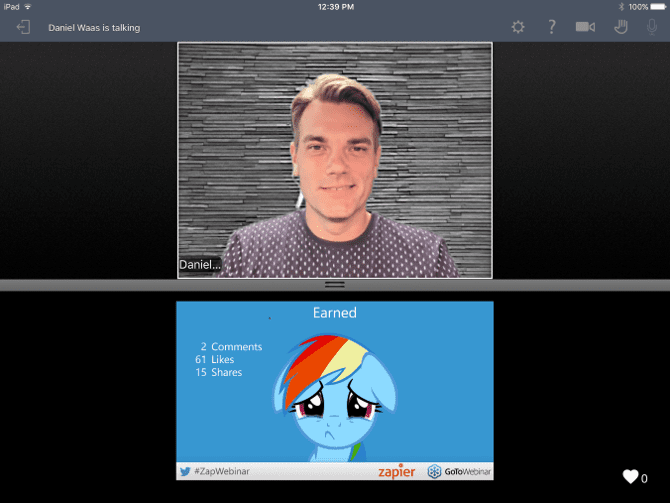 What people see on the webinar
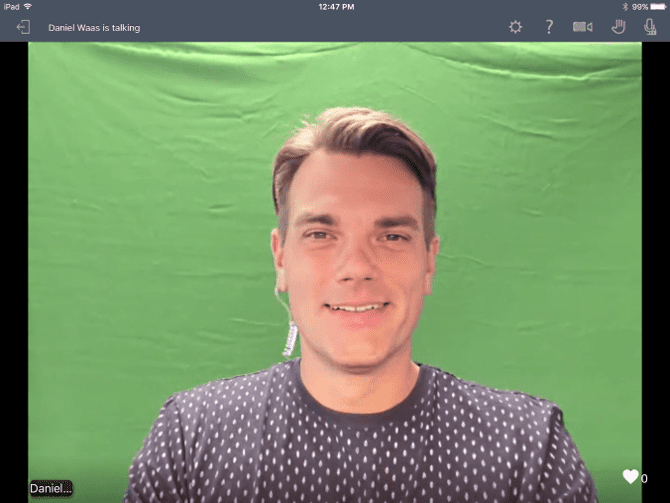 The actual background
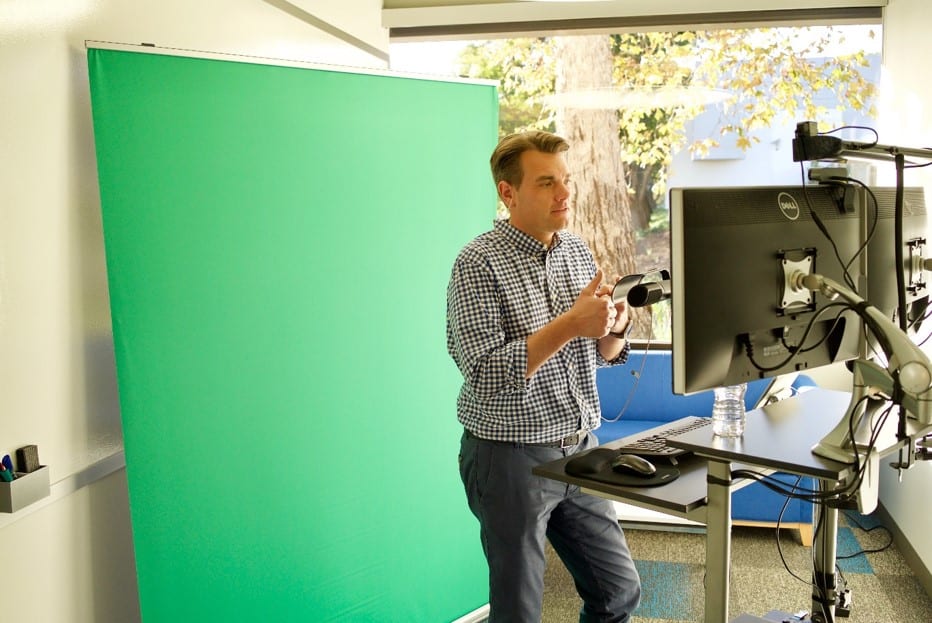
What you need to pull this off is a retractable green screen or a webaround
.
Some webinar tools like Zoom Webinar com,e with green screen support built right in. In Zoom it’s called a “virtual background”. you can use it without the physical green screen but the resulting image doesn’t look great.
For other webinar tools, you’ll need third-party software like SparkoCam (PC) or ManyCam (Mac). These tools create a virtual camera you can select as the input device in your webinar software.
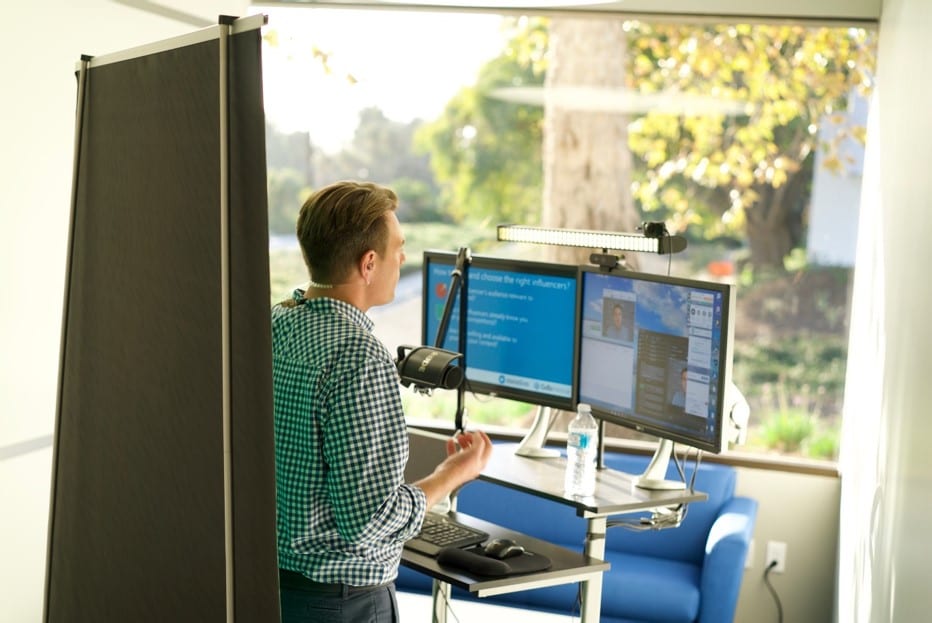
#2: Buy a photo stand and backdrop
The other option is to buy a backdrop stand and matching backdrop.
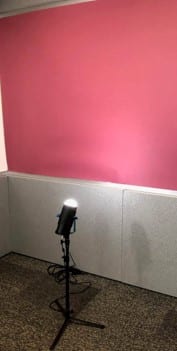
A simple and affordable backdrop is a simple paper roll. Savage is one supplier I’ve used that produces paper rolls in many different colors.
Make sure you get at least the 86-inch width so it covers your entire background. 107-inch width is even better as it’ll allow you to place the backdrop further back, creating a nice depth effect.
In the image below you can see I’m using another light source to create a nice “halo effect”.